A home pole studio is, first and foremost, a securely installed pole and clear, hard space around it. Everything else – a mat, a mirror, good lighting – just adds to the comfort. But the most important thing is the installation. Below, I’ll walk you through exactly what to prepare so your home training is safe and enjoyable.
How to prepare your space?
Choose a room with a ceiling preferably over two meters high and enough space to freely extend your arms and legs while spinning. Assume you need about 2 meters of clear space around the pole – no furniture or sharp edges. The floor should be hard and stable. But the most crucial factor is what you are mounting your pole to.
The pole – this is where safety counts
I don’t sell poles in my shop, but I’ll tell you honestly what to watch out for, as this is the most important element of your entire studio. Choose a certified pole from a reputable manufacturer and install it strictly according to the instructions. Pressure-mounted poles require a strong, stable ceiling – if you aren't sure what your ceiling is made of, consult a professional. Once installed, and then regularly afterward, check the stability before every single training session. There’s no room for "it’ll be fine" here.
Installing your pole step by step
Take your time with the first setup – it’s the foundation for every pole dance move. Here is the order I follow myself:
- Check the ceiling. Determine what the ceiling is made of and whether it can handle dynamic loads. Training on a pole isn't static – in pole sports, loads of up to about 2 G and spins of 400° per second are recorded (Dittrich et al., Orthopedic Reviews, 2020). That’s why "eyeballing" the mount is a no-go.
- Mark the spot. Leave about 2 meters of free space around the pole, away from furniture, lamps, and sharp edges.
- Assemble according to the manufacturer's instructions. Every pressure pole has its own tightening torque and way of resting against the ceiling – don't improvise.
- Test stability without doing moves. Pull on it, hang low near the floor for a moment, and check if anything shifts.
- Check before every session. Tightness and level can change slightly – it takes 30 seconds, and it protects your shoulders and wrists.
If you have even a shadow of a doubt about your ceiling, ask a professional to install it. It’s better to pay for peace of mind once than to train on a pole you don't trust.
What else is worth having in a home studio?
| Item | Why? |
|---|
| Crash mat | Cushions your landing – especially important when you're starting out. |
| Mirror | You control your posture and technique, and you can see your progress. |
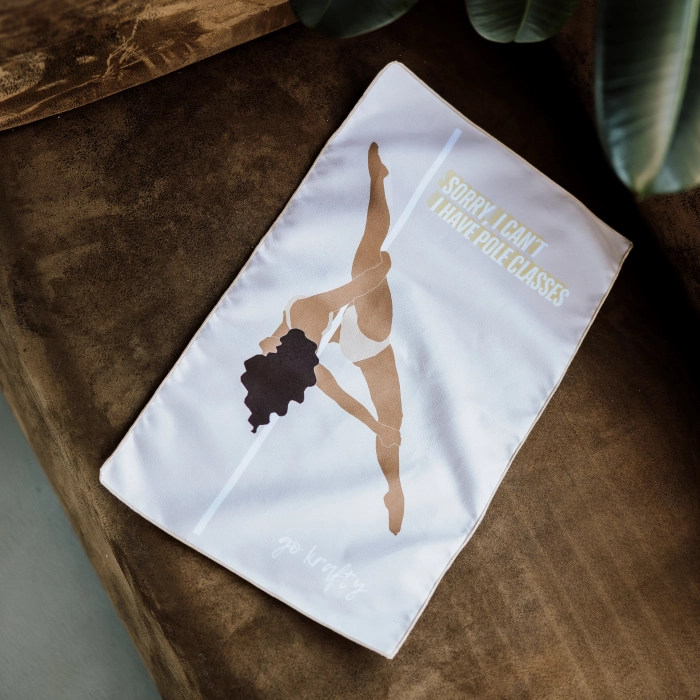
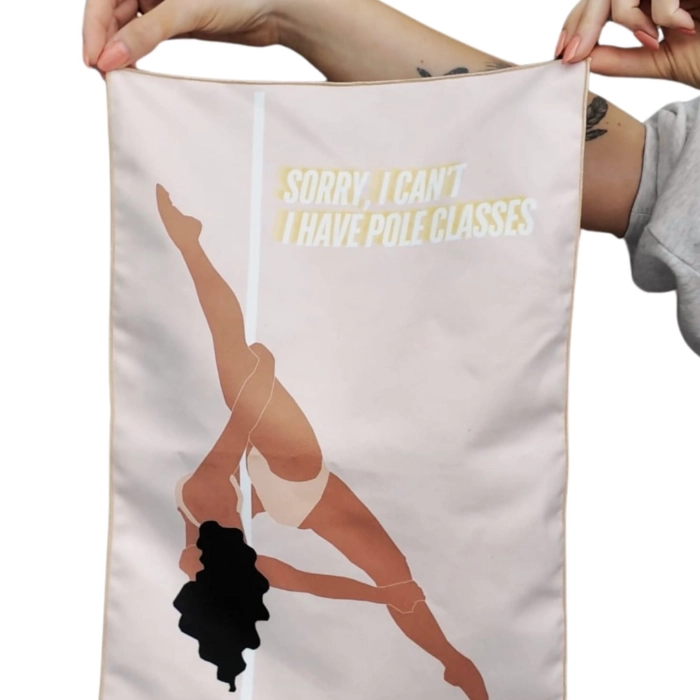
| Chalk / grip + cloth | A secure grip and a clean pole–which chalk to choose (in Polish). |
I’ve listed all the little things in my post about accessories.
No pole at home yet? In this video I show exercises that strengthen your back and shoulder blades without a pole. I speak Polish in it, but you can easily follow the moves.
You can also watch it directly on YouTube: Pole dance at home: strengthen your back and shoulder blades without a pole (in Polish).
Safety for home training
At home, there’s no instructor to catch you, so a few rules are even more important than in the studio: always start with a warm-up, increase difficulty gradually, and don't practice difficult inversions solo until you feel confident. Regularly check the condition of your pole and accessories. If you’re just starting out, consider a few studio classes before moving your training home (in Polish)–you’ll master the basics faster and more safely.
It’s worth knowing where injuries most often occur so you can stay mindful. In a global study of pole dancers, the most common injuries involved shoulders (54.5%) and wrists (34.2%), and as many as 75.5% of them were acute – that’s why warming up these parts and gradually increasing the load matters (Lee, Lin, Tan, J Sports Med Phys Fitness, 2020). Furthermore, a study of 320 dancers showed that beginners and those who returned to training too quickly after an injury are the most prone to re-injury (Szopa et al., Scientific Reports, 2022) – at home, without an instructor’s eye, that patience is doubly important.
These are organizational tips, not medical advice. If you feel pain or are returning from an injury, consult a physiotherapist or doctor.
A home studio that motivates
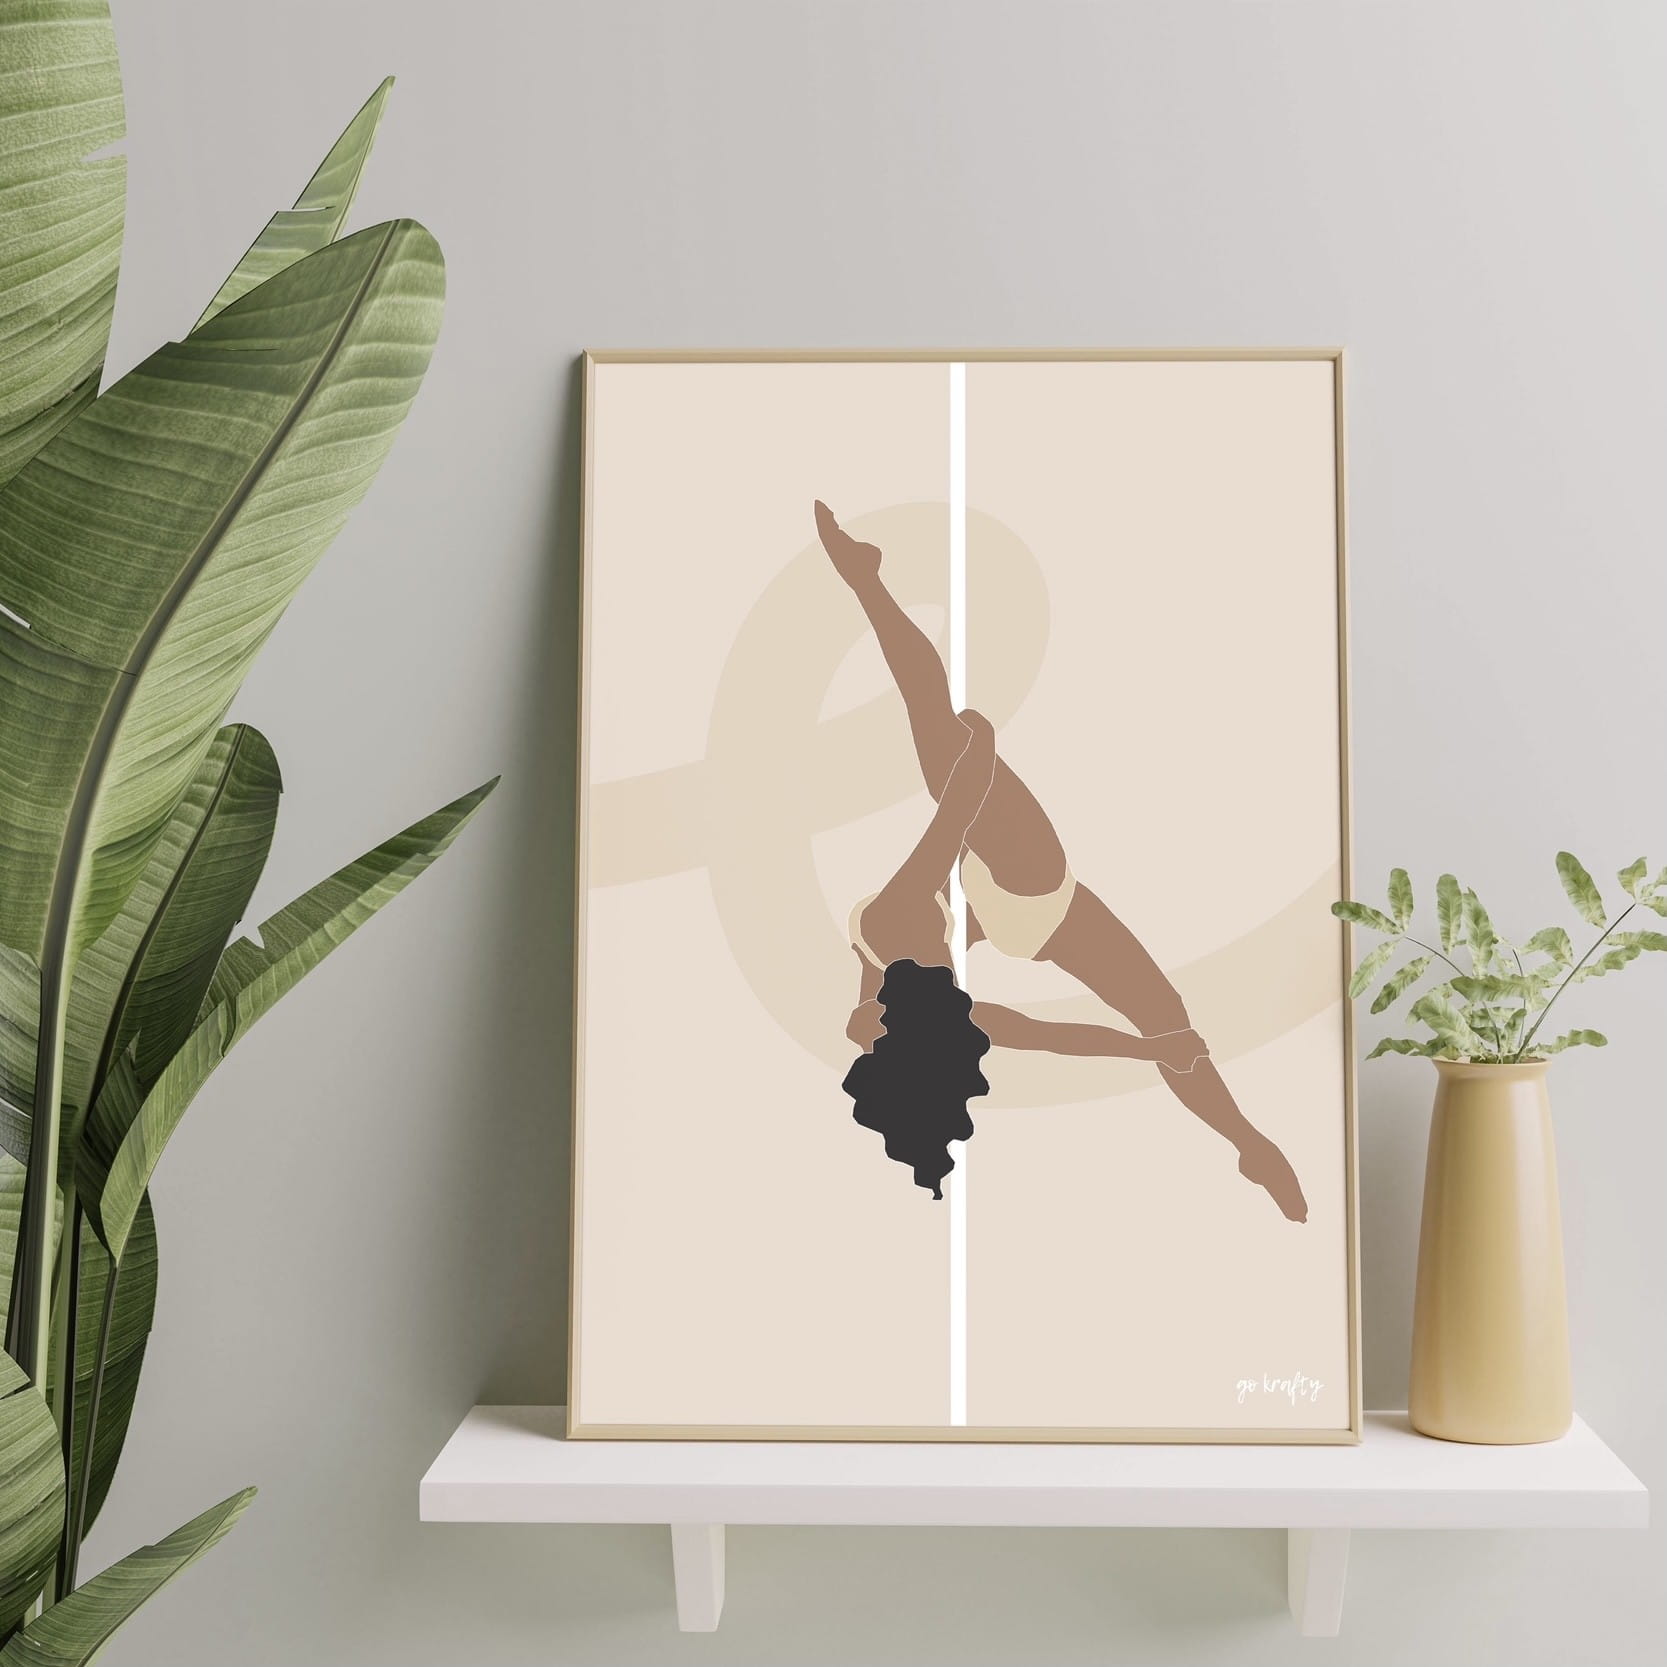
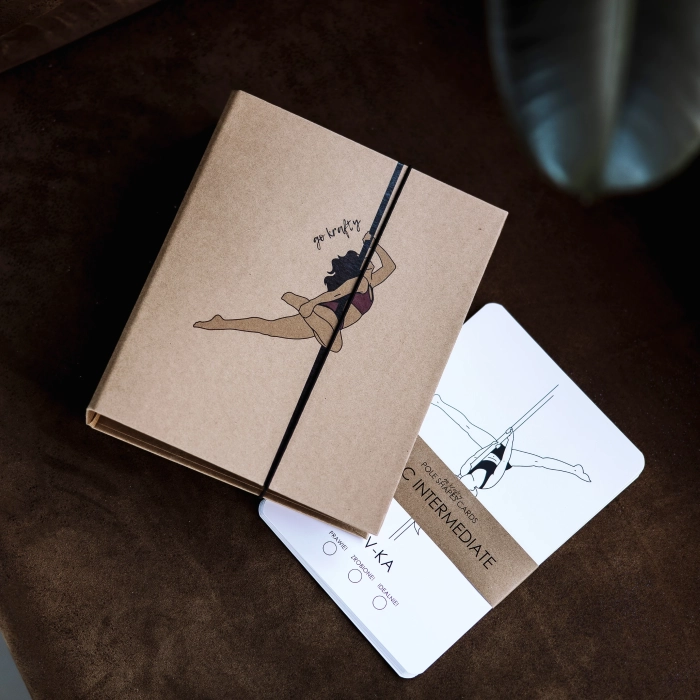
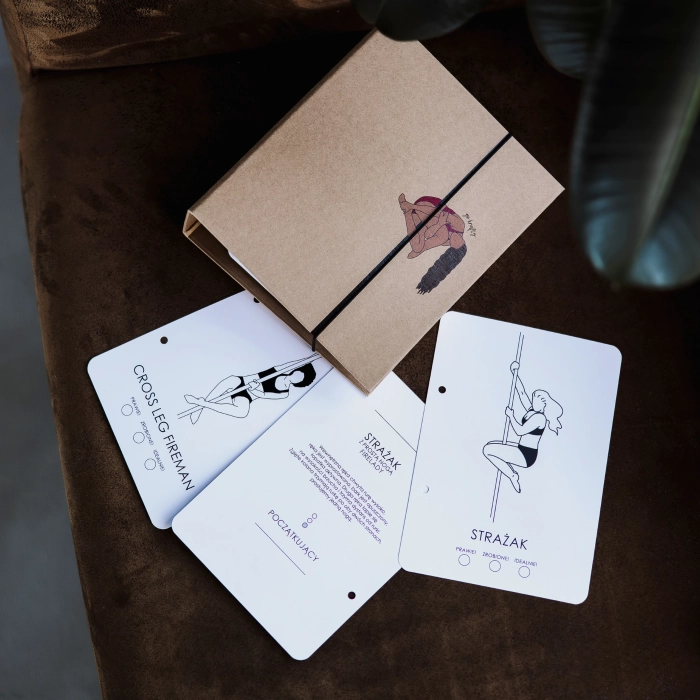
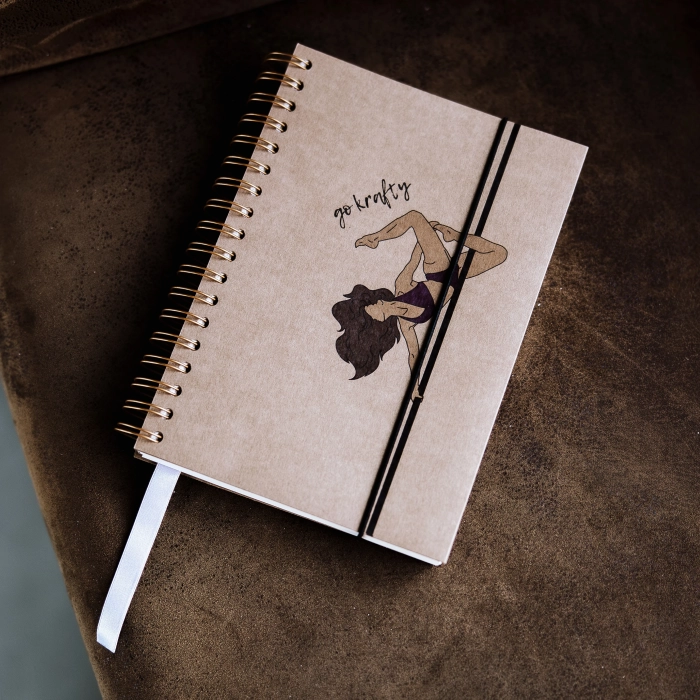
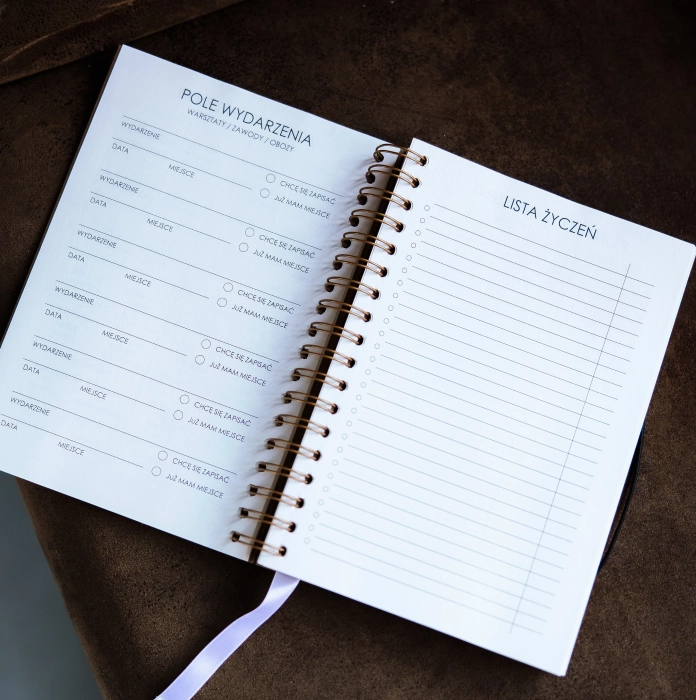
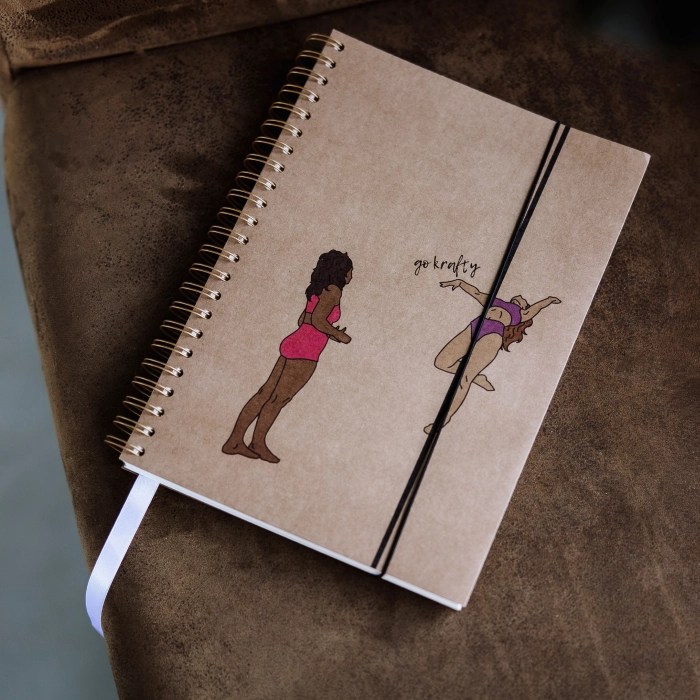
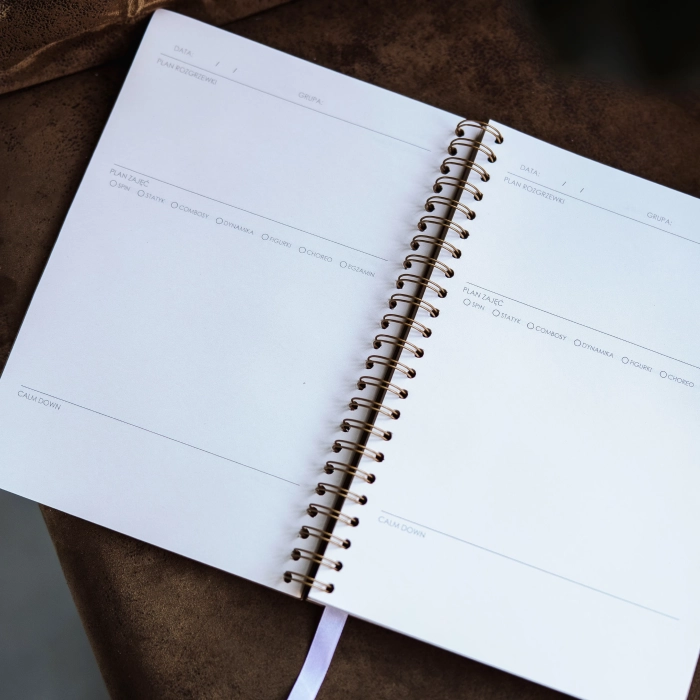
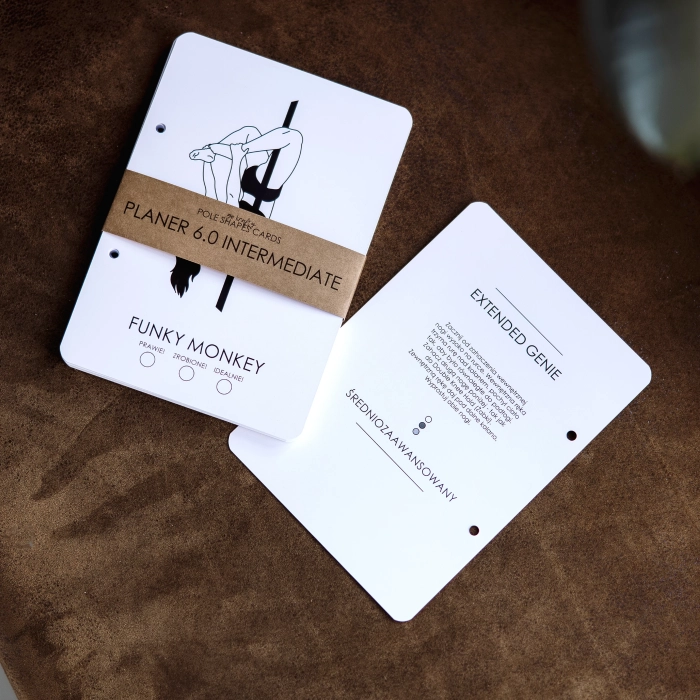
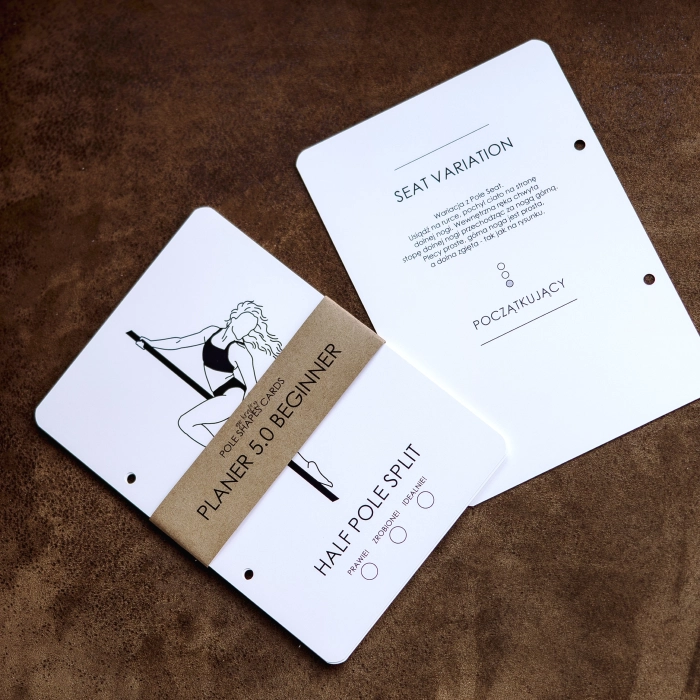
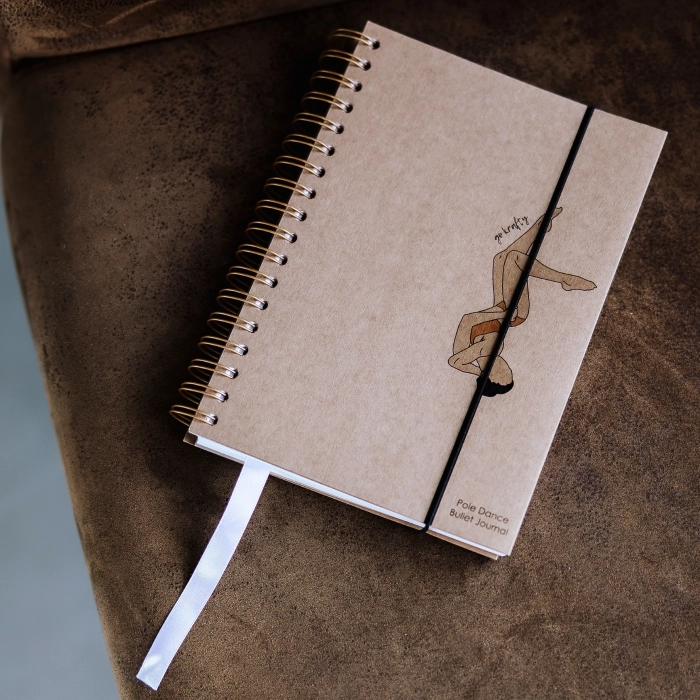
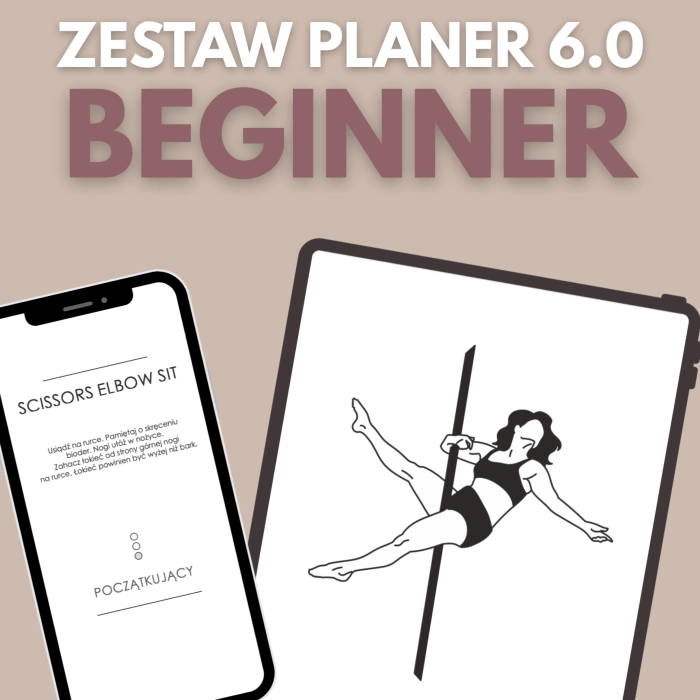
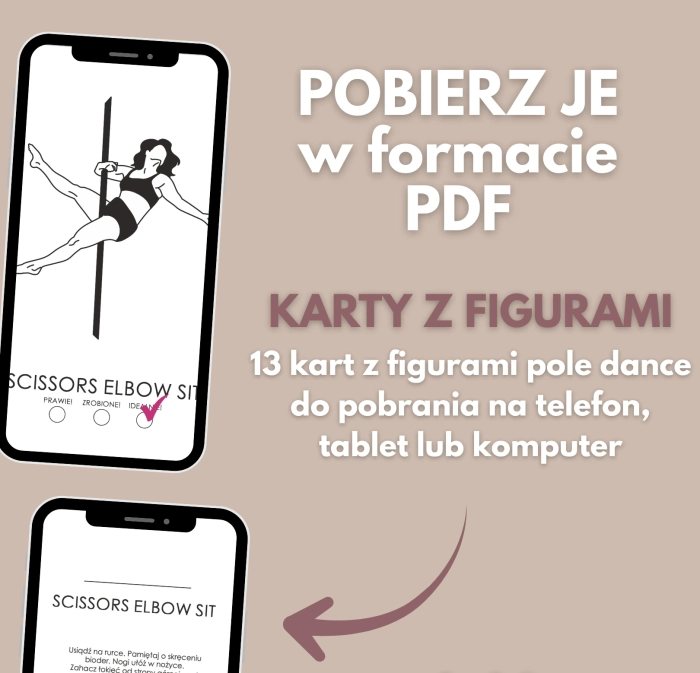
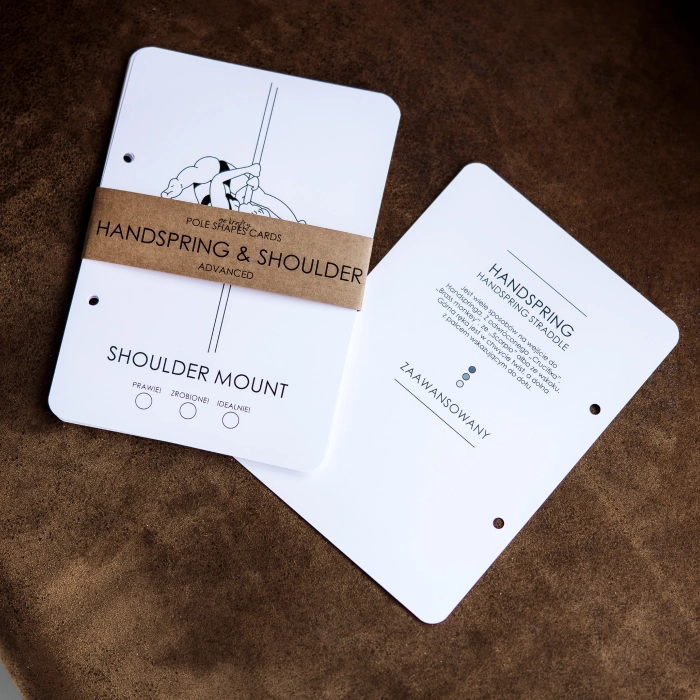
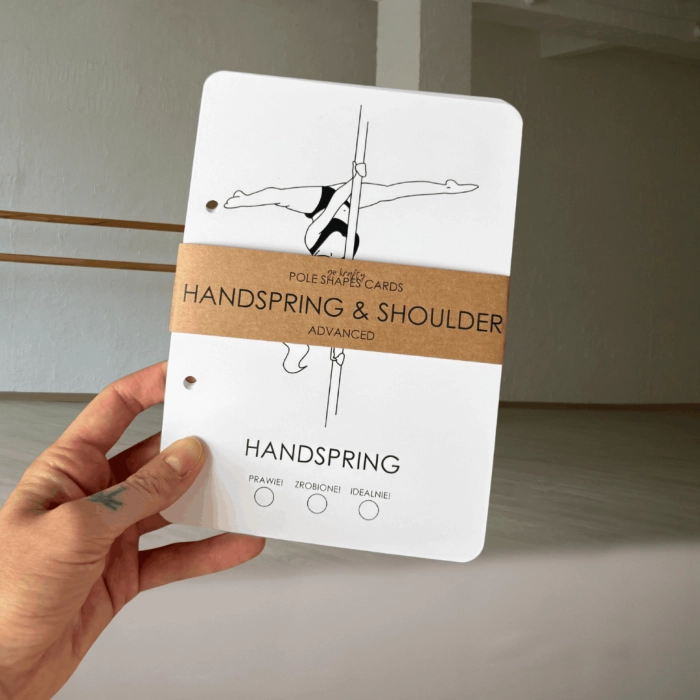
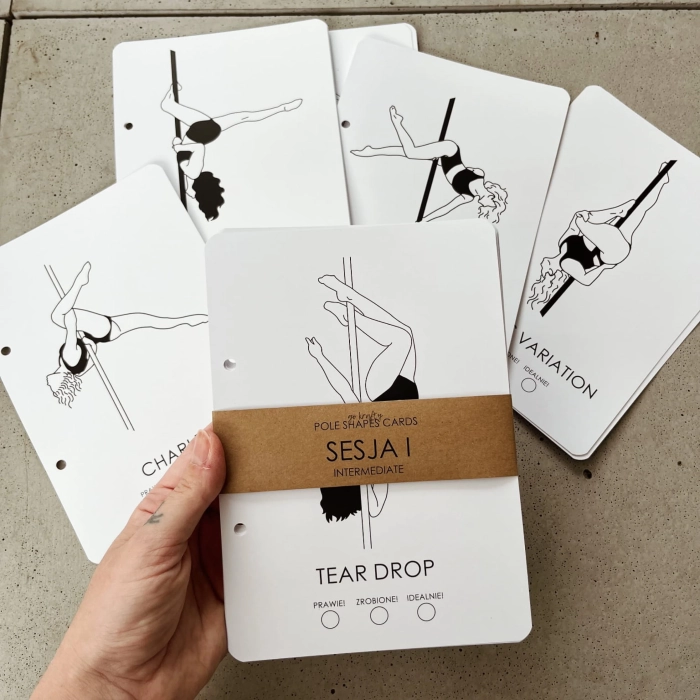
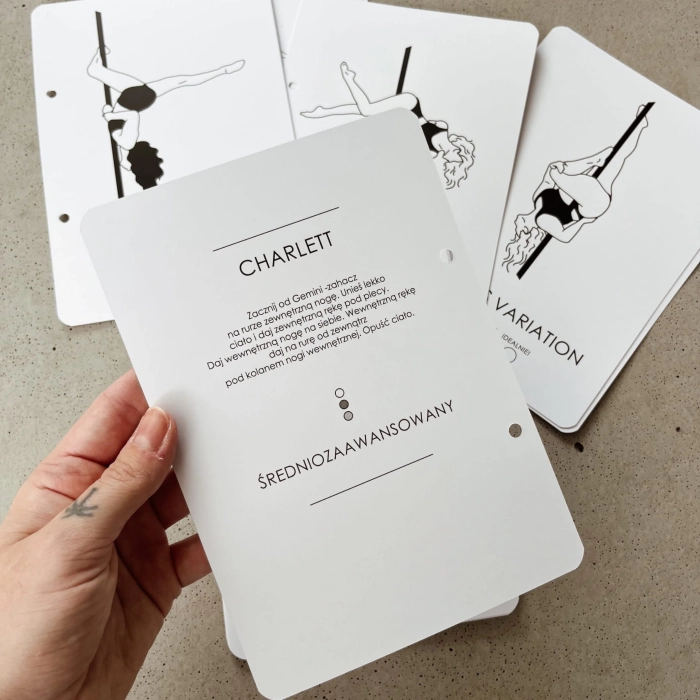
Make this space a place you want to return to: your favorite music, ambient lighting you love, maybe a poster or a photo that drives you. A plan also helps – checking off shapes from the shape catalog in your planner gives you a sense of moving forward. What matters is that you’re taking the next step, even if it’s a small one.
Frequently Asked Questions
Can I practice pole dance at home as a beginner?
Yes, but start with a secure pole installation and a few studio classes to grasp the basics and safety rules. Don't practice difficult inversions solo until you feel confident – studies show that beginners are the most prone to re-injury.
What kind of pole for home and how to install it?
Choose a certified pole from a reputable manufacturer and install it strictly according to the instructions. Pressure poles require a strong, stable ceiling – if you have doubts about the ceiling, consult a professional and check stability regularly.
What do I need for a home studio besides the pole?
A crash mat, a mirror, and chalk with a cloth for the pole. The rest is a matter of comfort and motivation – music, ambient lighting, posters, and a planner to track your progress.
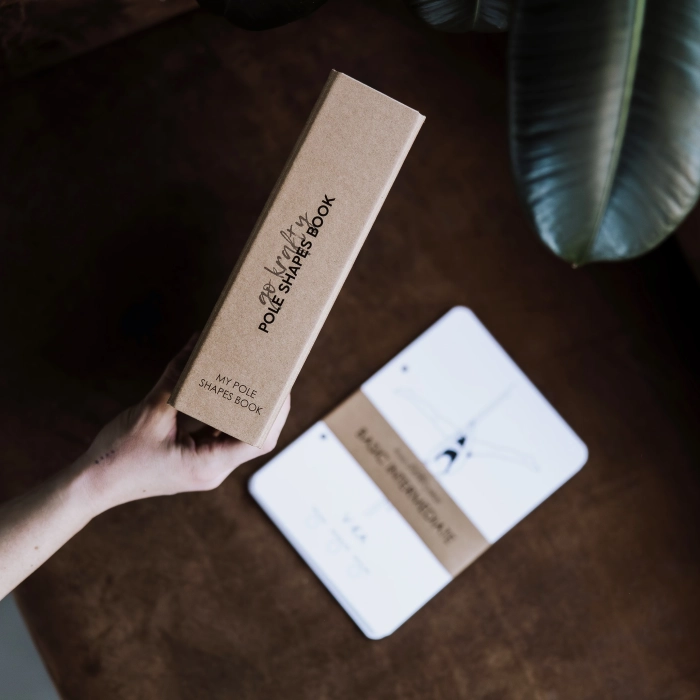
For the training side of pole dance – shapes, planners, and binders for tracking progress – check out the Pole Dance Planners and Shape Binders categories.








 Log in with Facebook
 Log in with Google